How Ribbed Edging Decoration Tape Is Made – A Behind-the-Scenes Look
Sometimes, updating a piece of furniture doesn’t require a total makeover. A simple decorative detail can completely transform the entire look of a piece.
One such innovative and increasingly popular detail is Fluted or Ribbed Edging Decoration Tape—a versatile, elegant material used to refresh furniture surfaces. From upcycling an old bookshelf to enhancing cabinet trims, these decorative strips offer both texture and refinement. But how are these beautifully grooved and flexible tapes made? The production process, though compact in scope, involves skilled craftsmanship, specialized machinery, and quality materials. Here’s a behind-the-scenes look at the creation of fluted edging decoration tape.
Step 1: Gluing and Securing the Oak Boards
The production process begins with the preparation of high-quality oak boards, chosen for their strength, clean grain, and aesthetic appeal. Several narrow oak planks are carefully aligned edge to edge and bonded together using a strong wood adhesive. This gluing step ensures a solid and seamless base for the decorative strips. To maintain the boards’ alignment during the curing of the glue, the worker reinforces the assembly by stapling the boards together. These staples act as a temporary support system, holding the planks securely in place and preventing any movement that might affect the precision of the following processes.

Step 2: Adding the Self-Adhesive Backing
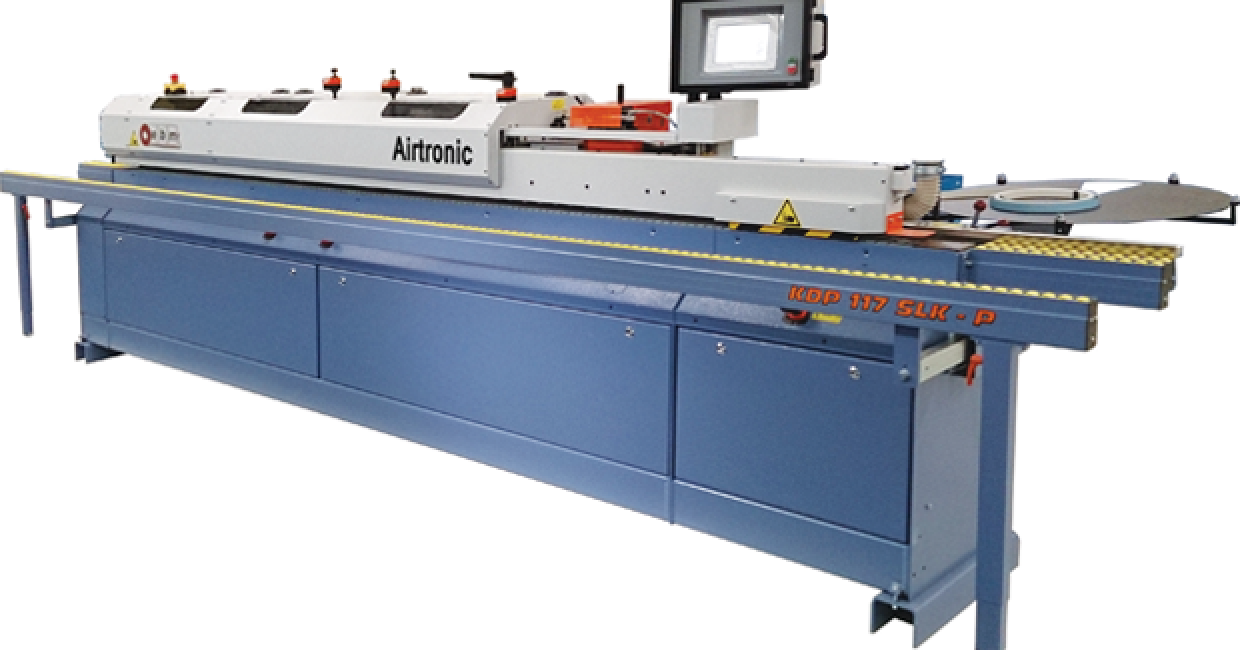
After the glue has dried and the boards are fully stabilized, the next step involves attaching a self-adhesive backing. First, a special material is glued to the board surface, which serves as a base layer. Once this material is in place, a layer of self-adhesive film is then applied to it using a specialized press. This adhesive layer is what later allows the decorative strips to be easily applied to furniture surfaces without the need for separate glue. The use of pressure and heat in this step ensures a strong, bubble-free bond between the wood and the adhesive sheet, making the strips reliable and easy to use.

Step 3: CNC Carving – Creating the Fluted Texture
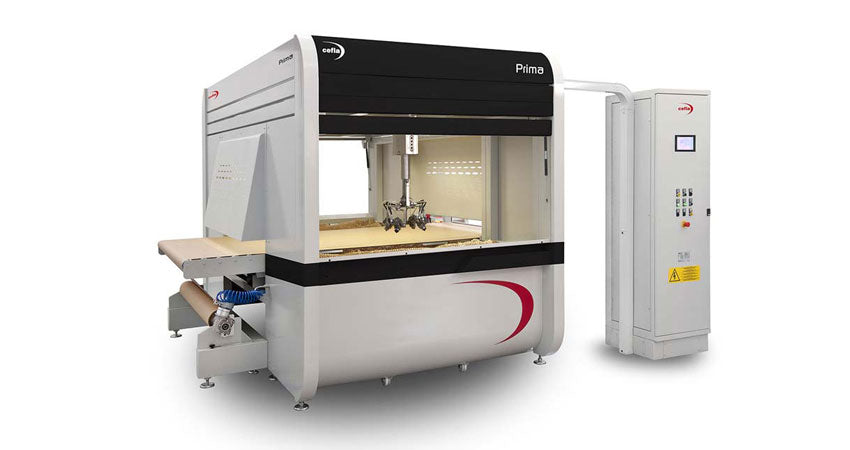
With the adhesive backing in place, the glued oak boards are transferred to a CNC (Computer Numerical Control) machine. This high-precision equipment is programmed to carve out the signature ribbed or fluted texture along the surface of the wood. CNC technology ensures uniformity in the pattern—each groove is identical in depth, width, and spacing, resulting in a consistent and elegant design. This is the step where the plain wood transforms into something visually striking, adding a tactile and architectural quality that sets this product apart.

Step 4: Sanding – Refining the Surface
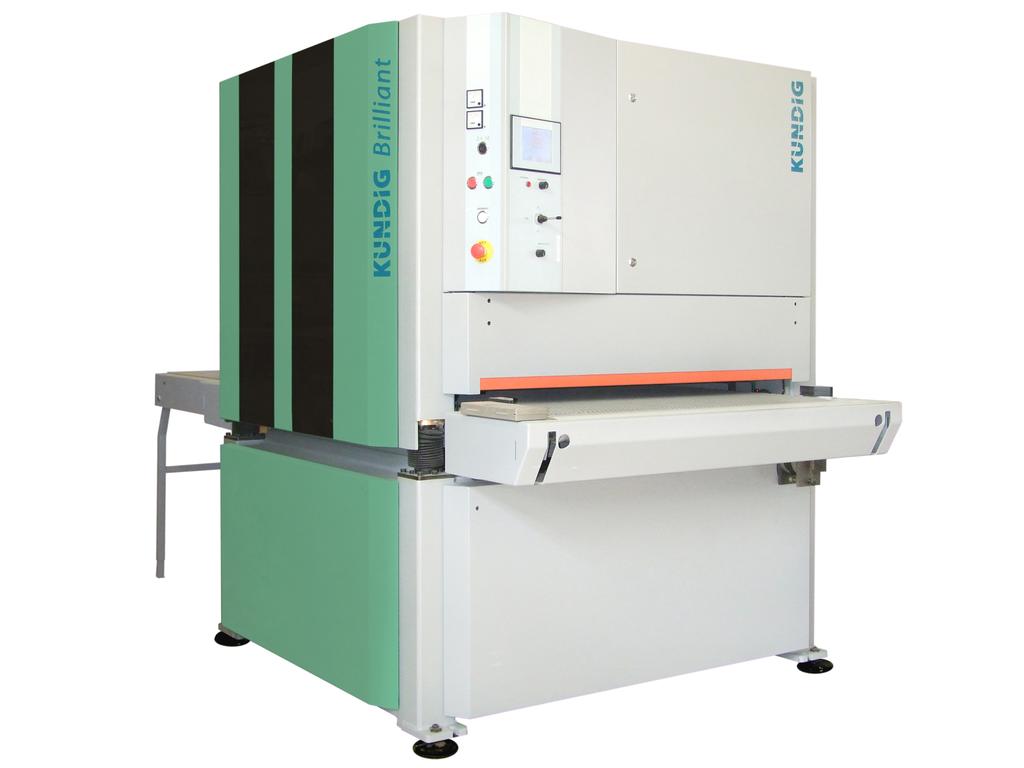
Once the ribbed patterns are cut, the surface undergoes sanding, both by hand and with a sanding machine. This step smooths out any rough edges left by the CNC carving process and brings out the natural beauty of the oak grain. Hand sanding is especially important for reaching into the grooves of the fluted design and ensuring a soft touch without dulling the pattern. A well-sanded surface not only feels pleasant but also takes finishes (like stains or oils) more evenly and beautifully.

Step 5: Cutting into Usable Strips
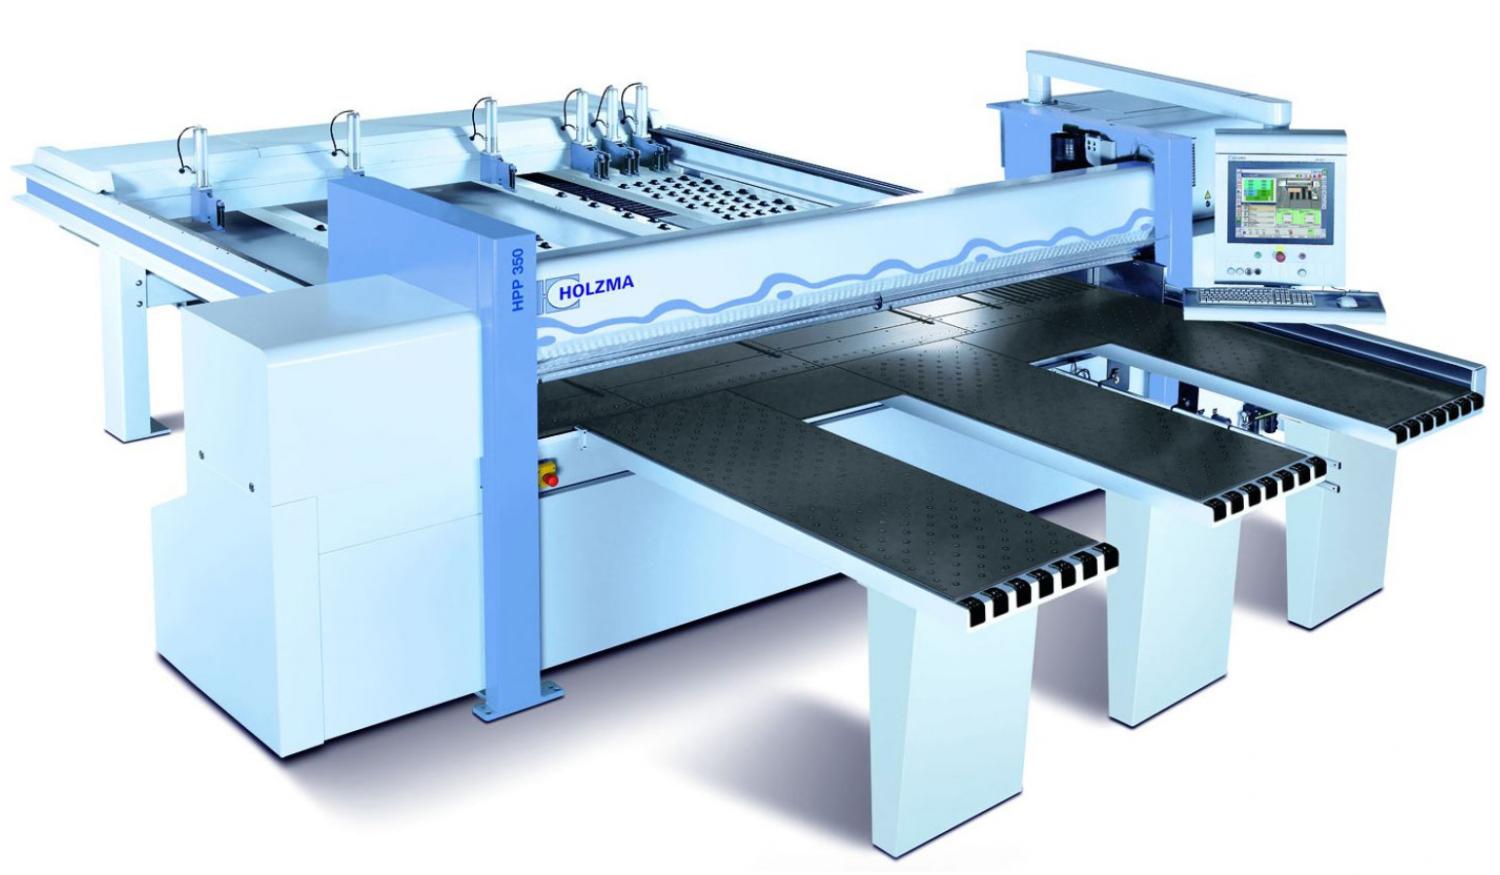
The final step in the production process is cutting the panel into strips of various lengths and widths. A specialized cutting machine ensures that each decorative tape strip is accurately sized and neatly trimmed. The dimensions can be customized depending on the intended use—whether for narrow bookshelf edges or wider cabinet frames. The result is a set of elegant, flexible wood strips that are ready to be applied to virtually any surface.

The End Result: Functional and Decorative Utility
 |
 |
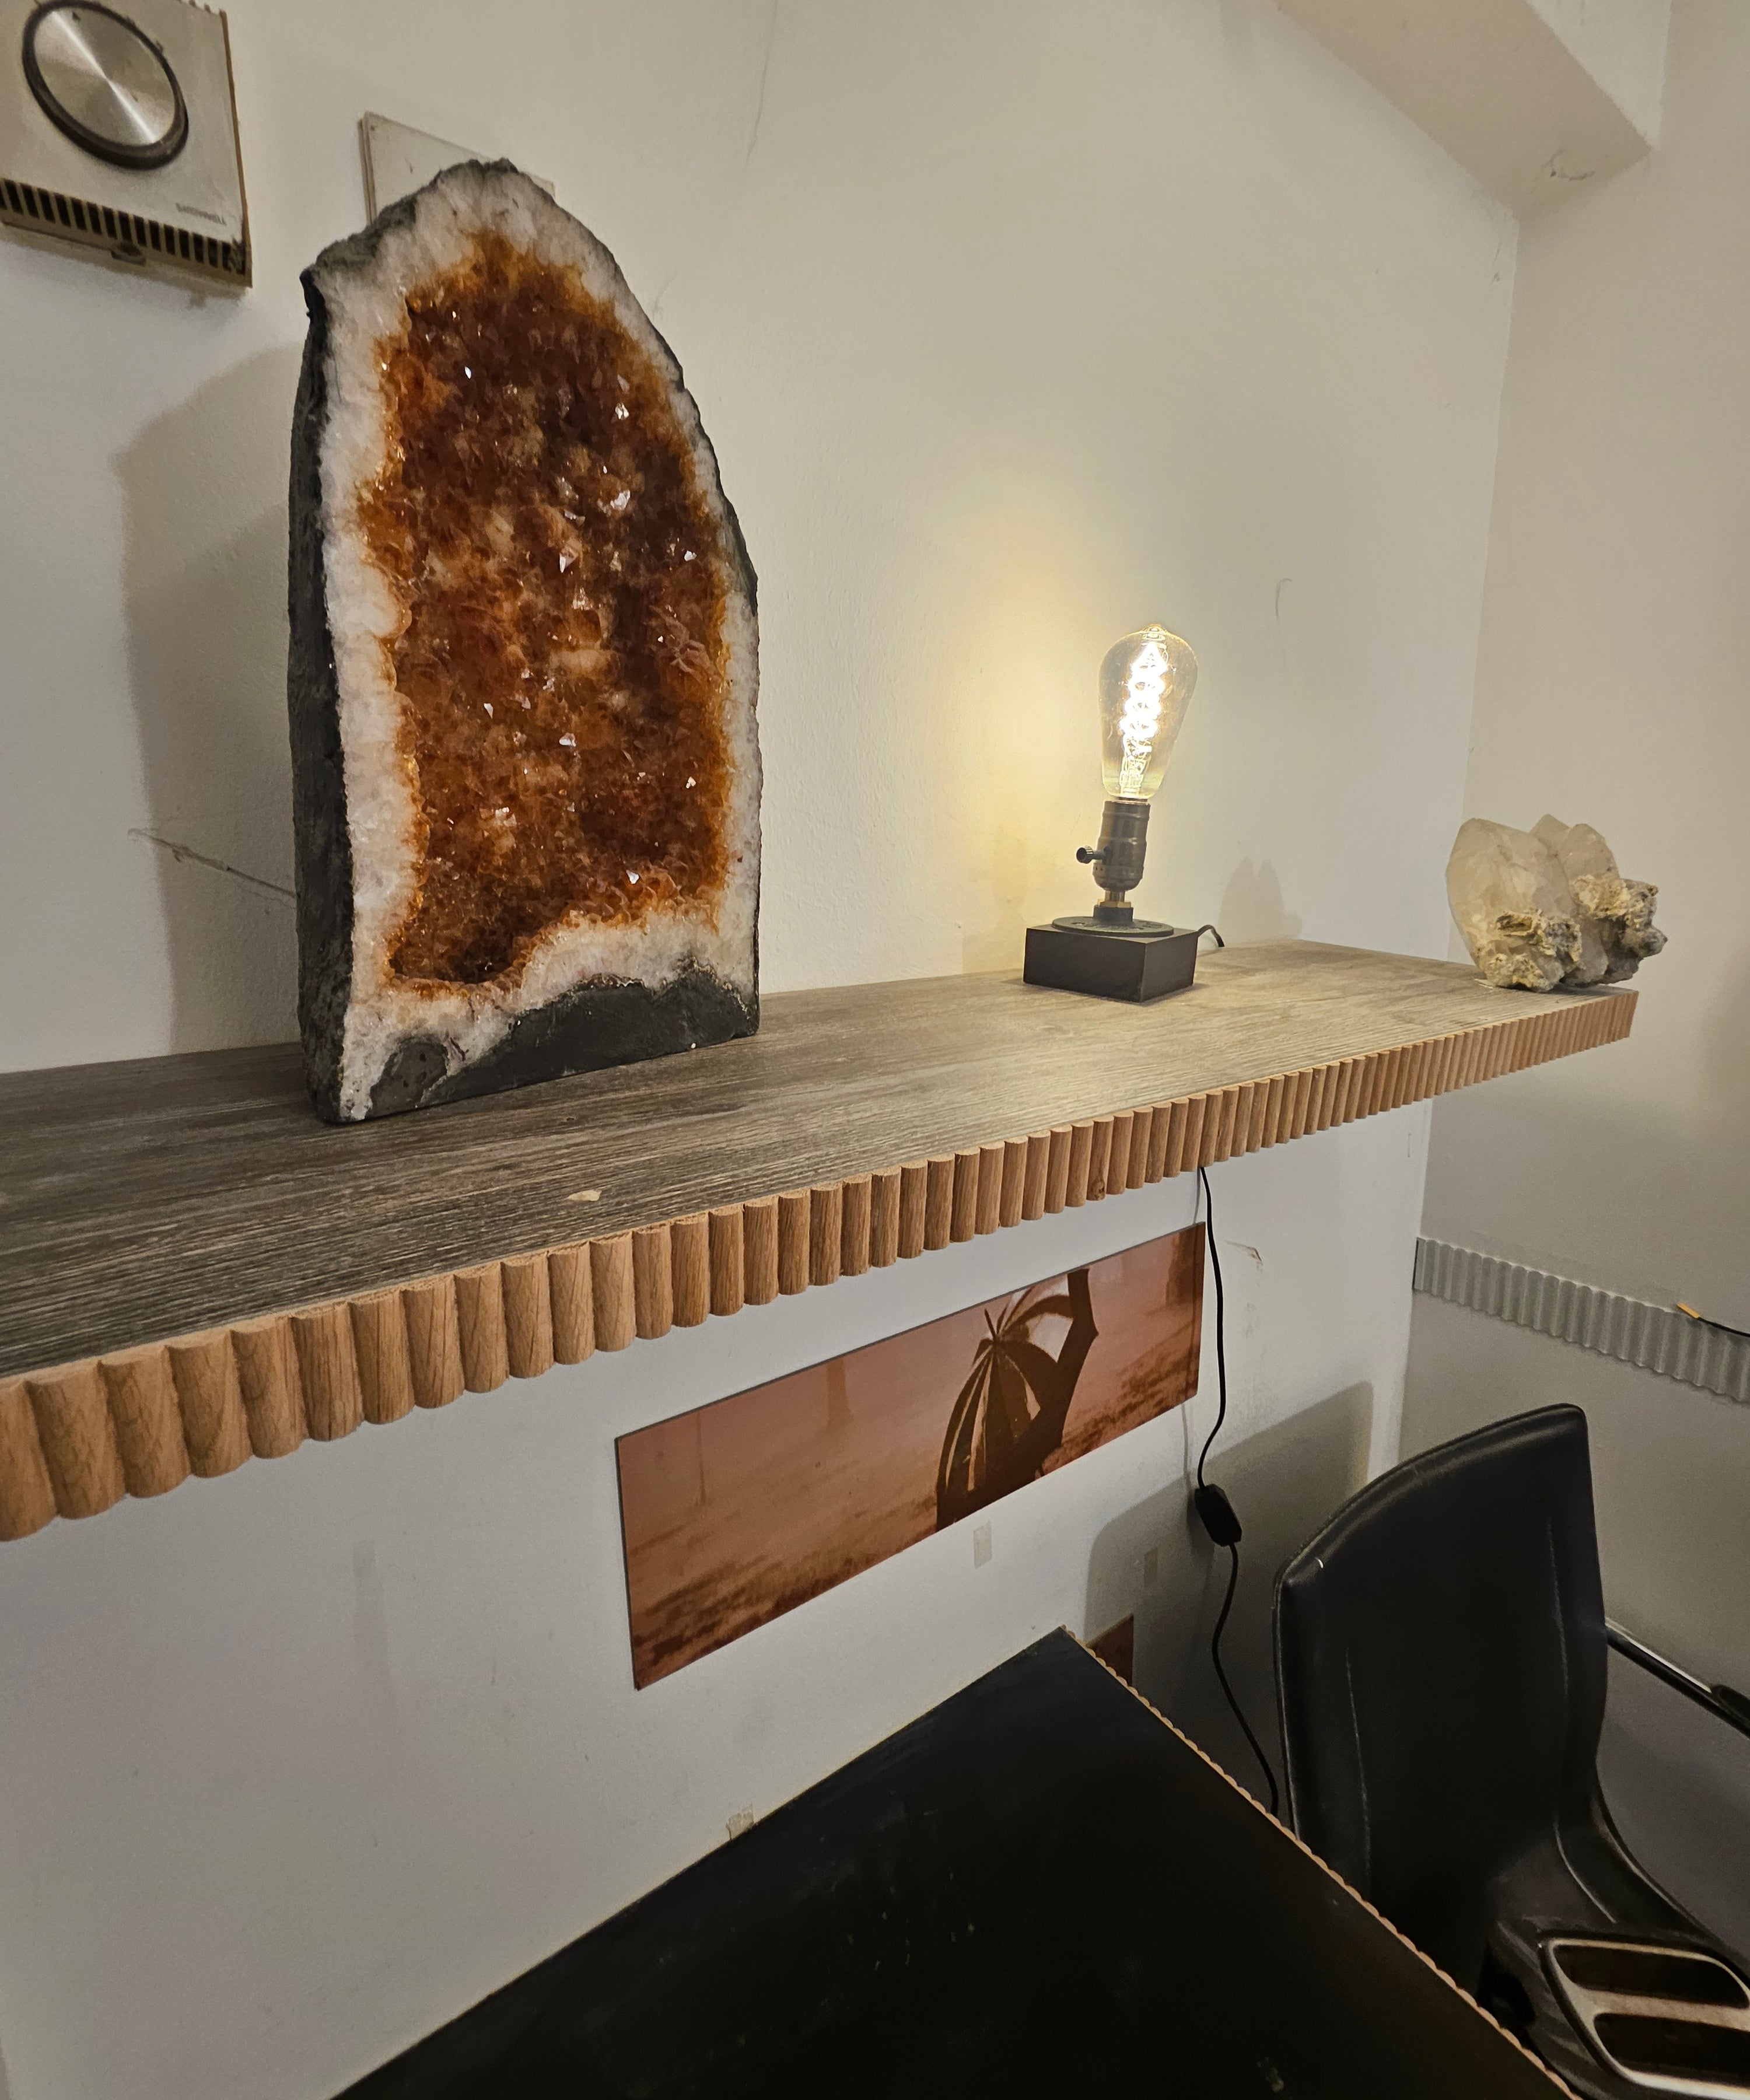
Once produced, these fluted edging tapes can be used to breathe new life into old furniture. For instance, applying them to the frame of a plain bookshelf can instantly change its look, giving it texture and a sense of craftsmanship. The self-adhesive backing makes them easy to install, even for DIY enthusiasts. No nails, clamps, or additional glue are required—just peel, place, and press.
Whether you're a designer, builder, or home improvement hobbyist, ribbed edging tape provides a stylish and functional solution for interior detailing. Its combination of durability, elegance, and ease of application makes it a standout product in today’s renovation and customization market.

